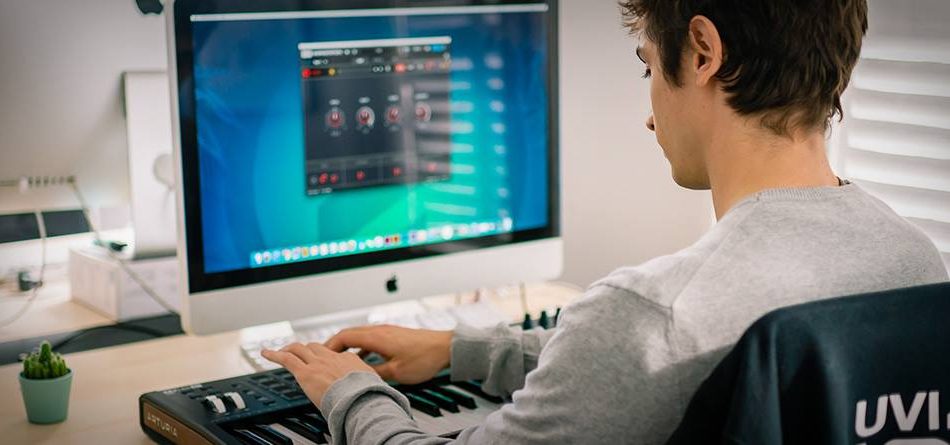
UVI has recently released its new Drum Designer virtual drum instrument.
Developer Louis Couka breaks down his top 20 tips for getting the most out of Drum Designer.
- Use Seq Transform Functions in the menu to easily shift events left or right or augment a tracks tempo in one click, e.g. make a beat sound slower by reducing the speed of just the snare track.
- Unlock the Cymbal Phase for a different texture at each trigger and avoid the gunshot effect.
- Use Sequencer Mix Time to time-shift events left or right for better rhythmic placement.
- As opposed to one-shot cymbal samples try using noise textures, maintaining the cymbal length while only changing the tone.
- Snare noise samples can be used to easily add pre-echo and tail to your snare for that traditional pumping effect in a more controlled way.
- Use mono amplitude envelopes on the Kick and Snare to avoid overlaps and phase issues.
- Quickly browse patterns for each drum type to come up with new sequences and variations.
- Use the Sequencer Event Link to quickly duplicate patterns, then manually add variations to create longer and more interesting sequences.
- Use the Sequencer Event Link for periodic automations, such as ping-pong panning.
- MIDI Modwheel will control all decay times except for the Kick.
- Quickly tighten or widen your clap by using the main panel time-stretch knob to spread or bind clap atoms in time.
- You can use the cymbal layer as a snare pre-shift: in the cymbal editor, put the env attack at 500ms, and the delay time at -500ms; in the the sequencer, copy the snare track to the cymbal track using the “Copy Track from” function.
- Avoid the gunshot effect on your Clap by using the Humanize knob to slightly change timing, pitch or pan at each trigger.
- The Link button on the Edit page also works with prev/next sound buttons, meaning that just one click can completely change all layers – worth a try on any clap preset.
- Spread your clap shots using the pan setting for each sub-trigger for a wider sound.
- Click on the clap sort button twice to reverse its direction.
- Kicks will generally go deeper if the first part of the tone is a pure sine.
- Kick’s Rumbles allows you to get dirty tails, perfect for acoustic kick drums.
- If an element is not playing at the first beat on a sequence it’s probably because its delay time is negative; to fix this go to the tracks Edit page and enable the Link, then shift-click on the smallest time value to move the whole sound to 0.
- Use Kick Tone Curve presets to quickly test different pitch envelopes.
Drum Designer is available for the intro price of $99 USD / 99 EUR until October 1st.
More information: UVI


